What Tools Do I Need for DIY Grease Trap Cleaning? – Guide
Cleaning your grease trap yourself can save money, but it’s not a job to dive into unprepared. Having the right tools makes the process safer, faster, and less messy.
This guide walks you through the must-have equipment so you can handle DIY grease trap cleaning with confidence and avoid common headaches.
What tools do I need for DIY grease trap cleaning?
You’ll need gloves, goggles, mask, scraper, scoop, buckets, stiff brush, containers, pliers, pipe wrench, and a wet/dry vac.
Key Takeaway
- Gloves, goggles, mask, coveralls, and non-slip boots keep you safe.
- Scraper, scoop, buckets, and stiff brush handle solids and sludge.
- Containers and liners make disposal clean and simple.
- Channel lock pliers and pipe wrench help open fittings.
- Mild degreasers, soap, baking soda, and vinegar clean safely.
- Wet/dry shop vac removes water and sludge quickly.
- Call pros if traps overflow, smell extreme, or clogs keep coming back.
Why Grease Trap Cleaning Matters
Skip the cleaning, and you’re basically sending your kitchen down a greasy slide into chaos. Clogs start small, but they’ll back up your sinks and smell like last night’s fry oil gone bad.
Regular cleaning keeps your system flowing, your kitchen fresh, and your plumbing bills low. Think of it as a cheap insurance policy against surprise floods and expensive repairs. For businesses looking to stay ahead of grease-related issues, our expert grease trap cleaning in Pembroke Pines team offers the same professional care and reliability trusted across South Florida.
Plus, if you’re cooking for a crowd, clean traps mean smoother service and zero embarrassing shutdowns. It’s not glamorous, but it’s the behind-the-scenes flex that keeps everything running smooth.
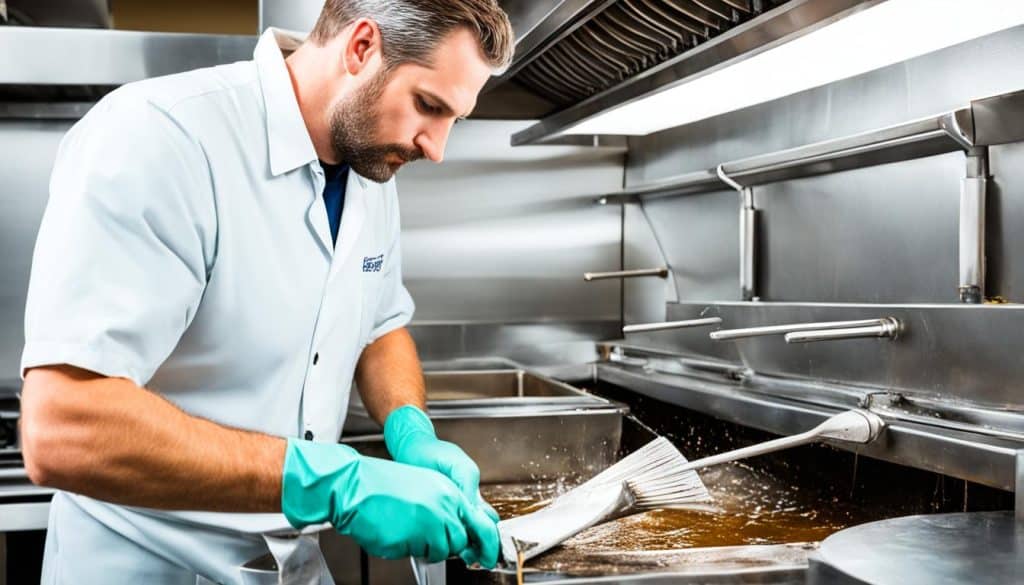
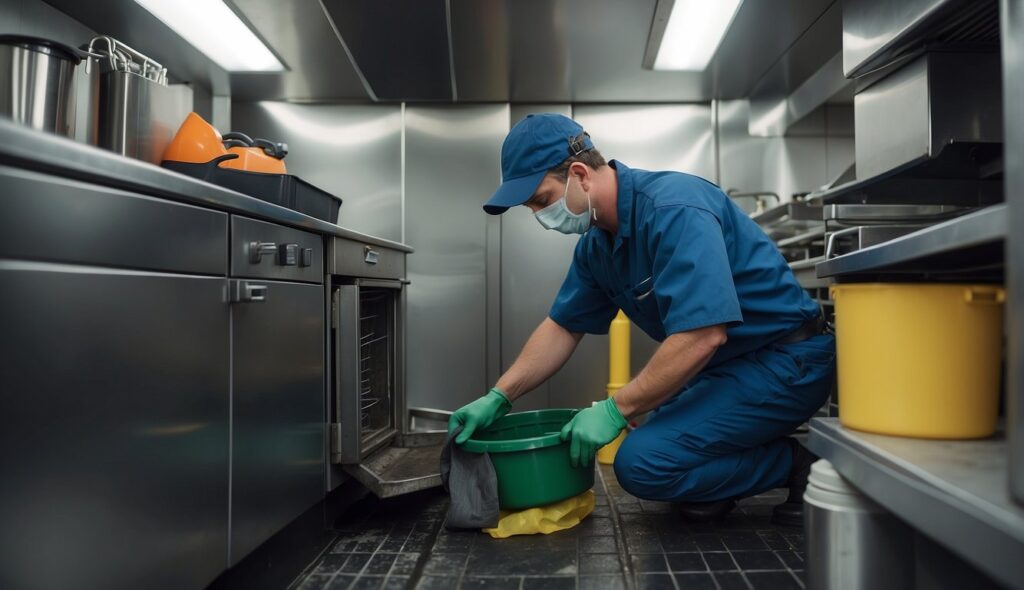
Safety First: Protective Gear You’ll Need
Grease traps aren’t glamorous, and cleaning one can get messy fast. Gloves are your MVP here. Go heavy-duty rubber, not those flimsy kitchen ones, so your skin stays safe from grime and chemicals.
Next up, goggles. Grease splash in your eye? Hard pass. A simple pair of safety glasses keeps things clear.
Don’t forget a face mask. Traps carry odors and bacteria you don’t want in your lungs. Add old clothes or a cheap coverall, because once the smell sticks, it sticks.
Last touch? Non-slip boots. You’ll thank yourself when the floor turns slick. Think of this gear as your squad, protecting you while you handle the dirty work.
Essential Hand Tools for Grease Trap Cleaning
First up, gloves. Not the flimsy kitchen ones, but heavy-duty rubber gloves that can actually handle the gunk. You’re sticking your hands near old grease, so protect them like you would your favorite sneakers or better yet, leave it to a Local grease interceptor company Miami for a professional clean-up.
A sturdy scraper is next. Think of it as your clean-up MVP. It helps you chip away hardened sludge that refuses to budge. Pair that with a small hand trowel or scoop, and suddenly you’re not elbow-deep in grease, you’re just scooping like it’s a weird ice cream.
Buckets are your sidekick. One for the solids, one for the rinse. It keeps the process less messy and saves you trips back and forth.
Lastly, keep a stiff-bristle brush in the lineup. After you’ve cleared out the big stuff, the brush makes sure nothing slimy gets left behind. Quick scrub, quick rinse, and you’re done.
With these simple tools, you’re set to tackle the trap without calling in backup. Low-tech, high payoff.
Containers and Disposal Tools
Grease trap cleaning isn’t just about scraping out gunk, you’ve gotta plan where it all goes. Sturdy containers, preferably sealable buckets, are your best bet. They keep the mess locked down and stop your car or garage from smelling like last night’s fry oil.
Line those containers with heavy-duty trash bags for easier disposal. Once filled, tie them up tight and toss them in your regular waste bin, unless your area has specific disposal rules. A small scoop or dustpan helps transfer solids cleanly, saving you from messy spills.
Pro move? Keep a dedicated container just for grease trap waste. It’s low-key disgusting, but it saves your kitchen from smelling like a fast-food dumpster.
Plumbing Tools to Loosen and Access Trap
First things first, you’ll need a solid pair of channel lock pliers. These give you the grip to twist off trap fittings without wrecking the pipe.
A pipe wrench is another flex move, especially if the fittings are old and stubborn. It adds the torque you’ll need when pliers tap out.
Keep a bucket or pan underneath before you crack it open, because grease water waits for no one. With the right tools in hand, you’ll unlock that trap like it’s nothing more than a stubborn jar lid.
Cleaning Solutions and Chemicals
Skip the industrial-strength mystery potions. For DIY grease trap cleaning, mild degreasers or dish soap mixed with hot water do the trick. They cut through fat without wrecking your pipes.
Baking soda and vinegar are your budget-friendly cheat code. They break down gunk, freshen the trap, and won’t gas you out like harsh chemicals.
Stay away from bleach or corrosive cleaners. They can damage the trap and mess with your plumbing. Stick to safe, simple solutions that clean without drama.
Think of it like skincare: gentle products get results without leaving scars. Same logic, different trap.
Step-by-Step Overview of Using These Tools
Start by popping the lid off your grease trap with a pry bar. Safety gloves on, always.
Scoop out the chunky stuff using a small bucket or scoop. Think of it like clearing leftovers from last night’s BBQ pan, just on a bigger, messier scale.
Next, scrape the sides and lid with a putty knife to loosen gunk that’s clinging on. A stiff brush helps polish off the stubborn bits.
Once the solids are gone, use a wet/dry shop vac to suck up the greasy water. Rinse the trap with warm water and give it a final scrub.
Put the lid back, and you’re good. Clean trap, no stink.
When to Call a Professional Instead
Sometimes DIY just isn’t worth the headache. If your grease trap is overflowing, smells like a chemistry experiment gone wrong, or you can’t even find the trap, it’s time to tag in the pros.
Clogs that keep coming back are another red flag. You don’t want to waste hours scrubbing only to end up back at square one.
A professional has the tools and know-how to clear things fast and prevent bigger messes. Think of it like calling a mechanic instead of trying to fix your own transmission. Saves time, stress, and probably your appetite too.
Frequently Asked Questions
1. Do I really need special tools?
Yep. A grease trap isn’t something you want to poke at with a butter knife. A scoop, bucket, rubber gloves, and a wet/dry vac make life way easier.
2. How often should I clean it?
Every one to three months is the sweet spot. Wait longer and you’re basically hosting a grease swamp.
3. Can I use regular cleaning products?
Skip the harsh chemicals. Stick with warm water, soap, and a stiff brush. Your pipes and lungs will thank you.
Conclusion
DIY grease trap cleaning isn’t rocket science, but it does call for the right gear. With gloves, a scraper, a sturdy bucket, and a wet-dry vac, you’re set to handle the mess.
Stay consistent, clean on schedule, and you’ll keep your system running smooth without surprise stink bombs. That’s the cheat code to saving cash and avoiding late-night plumber calls.