How to Install Catch Basin Drain – The Fast – No-Fail Method
Tired of water pooling around your yard or driveway? A catch basin drain could be the fix. It helps collect and redirect runoff before it causes damage.
In this quick guide, we’ll walk you through how to install one—step by step—so you can keep your property dry and protected.
How to Install a Catch Basin Drain
To install a catch basin drain, dig a sloped trench, set the basin flush with the ground, and connect it to a drainpipe that redirects water away.
Key Takeaways
- A catch basin drain collects surface runoff and redirects it away from your yard.
- It prevents flooding, erosion, and water damage near your foundation.
- A proper slope (1 inch per 10 feet) is crucial for drainage.
- Tools needed: catch basin, drain pipe, shovel, gravel, level, saw, and sealant.
- Install the basin flush with the ground and ensure the outlet pipe slopes downward.
- Use gravel to stabilise and speed up drainage.
- Regular maintenance prevents clogs and keeps it working long-term.
What Is a Catch Basin and Why You Might Need One
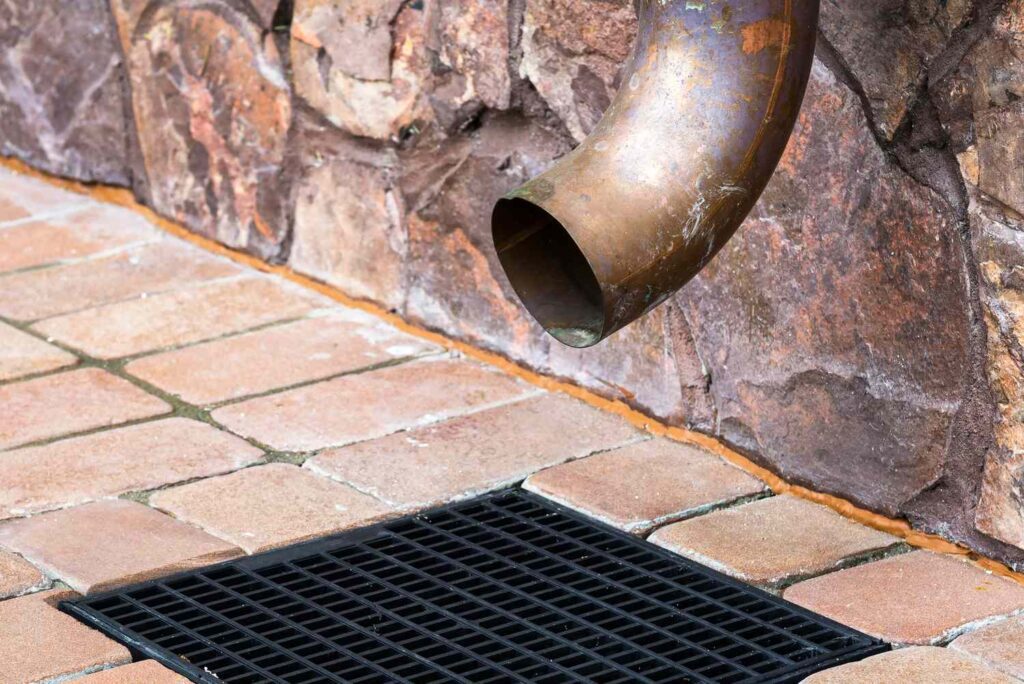
A catch basin is like a storm drain for your yard. It’s a buried box with a grate on top and a pipe that redirects water elsewhere.
Got puddles after every rain? That’s your lawn begging for help. Catch basins collect runoff from your driveway, patio, or yard and send it packing.
They help prevent flooding, stop erosion, and save your landscaping from turning into a soggy mess. If water tends to throw house parties near your foundation, this little setup might be the bouncer you need.
Bottom line: a catch basin keeps things dry above ground by quietly doing the dirty work underground. Think of it as drainage with a drip.
Tools and Materials You’ll Need
- Catch basin – That’s the star of the show. Pick one that fits your yard’s vibe and water load.
- PVC or corrugated drain pipe – This is how the water bounces. Match the pipe to your catch basin outlet.
- Shovel or trenching spade – You’re gonna dig, so grab a tool that doesn’t kill your back.
- Gravel – Helps with drainage and gives your basin a solid bed to chill on.
- Level – No one likes a crooked setup.
- Saw – For trimming pipe like a pro.
- Work gloves – Unless you like blisters.
- Tape measure – Keep your install tight, not guesswork.
- Screws and sealant – Lock everything down and stop leaks before they start.
Choosing the Right Location for Your Catch Basin
Start where the water starts drama. Low spots in your yard? Near downspouts? That’s prime real estate.
Watch how water moves when it rains. If it’s pooling like a lazy guest who won’t leave, that’s your install zone.
Keep it a few feet away from your foundation—no one wants water creeping in like an ex.
Bonus tip: Aim for a gentle slope so gravity can do its thing. No slope, no flow.
The right spot saves you headaches (and soggy shoes) down the line. Trust, location is the cheat code here.
Step-by-Step Guide: How to Install a Catch Basin Drain

Installing a catch basin isn’t rocket science, but it is all about getting the basics right. Let’s walk through it like a weekend project—with less guesswork, more results.
1. Pick the Right Spot: Start where the water loves to hang out—usually near downspouts, low yard spots, or paved areas. You want gravity to do most of the work here. No heavy lifting for you.
2. Mark the Layout: Grab some spray paint or stakes and string. Mark out the trench path leading to your outlet point. Think of it like sketching out your drainage cheat code.
3. Dig the Trench: Time to get a little dirty. Dig a trench about 6–12 inches wide and at least 18 inches deep. Add a slight slope—roughly 1 inch per 10 feet—so water flows naturally.
4. Create a Gravel Base: Before the basin goes in, toss in a few inches of crushed stone or gravel. This helps with stability and drainage. It’s the comfy mattress for your catch basin.
5. Set the Catch Basin: Drop the basin into the hole so the top sits flush with the ground. No trip hazards here. Hook it up to your drainpipe—make sure it’s snug and aimed toward your exit route.
6. Connect the Drain Pipe: Attach PVC or corrugated pipe to the outlet. Run it through your trench and keep that slight slope. Think of this as the water’s getaway tunnel.
7. Backfill with Gravel: Add more gravel around the basin and pipe. This keeps everything locked in and helps water seep through quicker. Water hates being stuck—it’s got places to be.
8. Cover and Finish: Toss on some landscape fabric if you want to keep weeds in check. Then finish with soil, sod, or pavers on top. Just don’t block the basin grate. That’s the VIP entrance for runoff.
9. Test It Out: Pour in a bucket of water to check the flow. If it drains smoothly, you’re golden. If not, recheck your slope or connection points. Better to tweak now than regret during the next downpour.
That’s it. Catch basin installed. You just gave your yard a drainage glow-up—function meets flex.
Common Mistakes to Avoid
Skipping the slope is the classic rookie move. If the drain doesn’t tilt, water’s going nowhere. Don’t place the basin too high or too low—flush with the ground is the sweet spot.
Avoid cheap plastic grates. One heavy truck and it’s game over. And yeah, skipping gravel or fabric? That’s how you end up with clogs or sinkholes. Similarly, commercial properties must ensure proper maintenance for systems like grease traps to avoid major backups and health code violations.
Get these right, and your catch basin won’t just work—it’ll flex on every rainy day.
Maintenance Tips for Long-Term Performance
Don’t let your catch basin turn into a swamp trap. Clear out leaves and debris every couple of weeks, especially after storms.
Flush the drain with a garden hose now and then to keep things flowing. If you’re managing drainage systems in Broward County, especially around Fort Lauderdale, check out our professional storm drain cleaning in Fort Lauderdale to ensure both your catch basin and connected drainage systems stay in top condition. If water’s backing up or it smells funky, that’s your cue to check for clogs.
A quick visual check each month? That’s the cheat code to avoiding bigger headaches later. Keep it simple, and your system stays slick.
Frequently Asked Questions
1. Do I need a pro to install a catch basin?
Not really. If you can handle a shovel and follow basic layout steps, you’re good. Just call before you dig—seriously.
2. Where should the water go?
Send it somewhere safe, like a dry well, storm drain, or the edge of your property. Don’t flood your neighbor’s yard unless you’re beefing.
3. How deep should it be?
Usually about a foot below surface level. The key is slope—give that water a reason to move.
Conclusion
Catch basin drains aren’t just a backyard flex—they’re a smart fix for flooding headaches. With the right tools and a little elbow grease, you can install one yourself without calling in the pros.
Keep that slope tight, the grate clear, and your yard will thank you the next time it pours.